Identity and Access Management User's Guide
DADS - CC_CRS Request Application Access
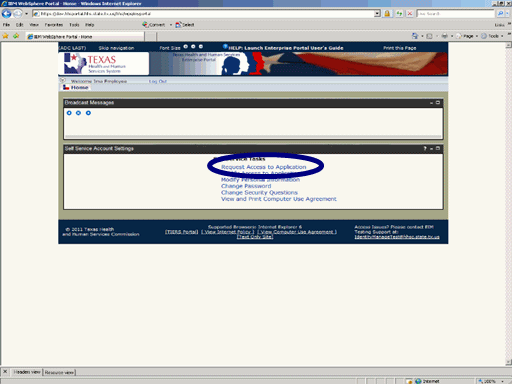
Figure 1. Enterprise Portal Home Page.
1. Open a browser and navigate to the Enterprise Portal.
2. On the Enterprise Portal Home Page select the Request Application Access link as shown in the circle at left.
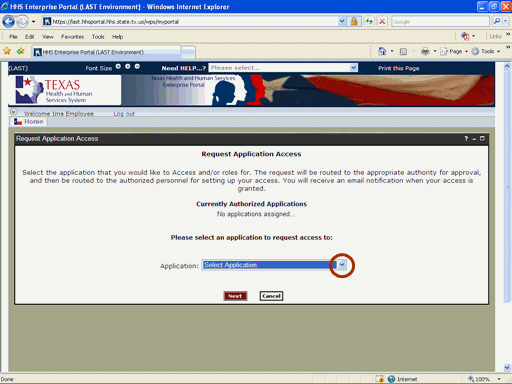
Figure 2. Request Application Access Page.
3. Expand the Application list box as shown in the circle at left.
Note: Currently Authorized Accounts will be listed in the center of window. If any of those accounts are in a Suspended state, it will be shown in parenthesis after the name of the account.
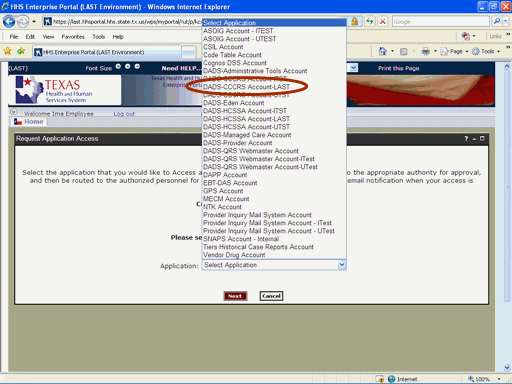
Figure 3. Select Application List Box.
4. Select the DADS-CCCRS Account item as shown in the circle at left.
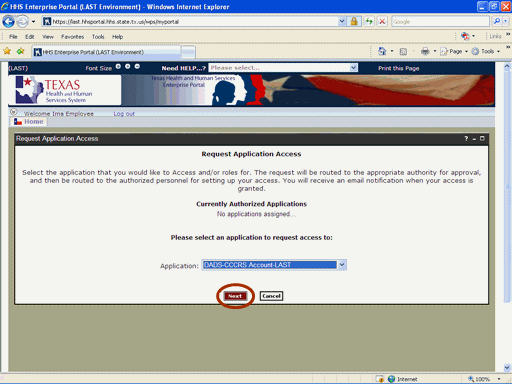
Figure 4. Request Application Access Page.
5. Select the Next button as shown in the circle at left.
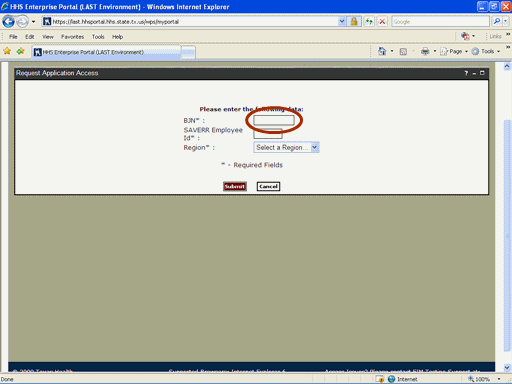
Figure 5. Request Information Page.
6. Select the BJN text box then enter the BJN as shown in the circle at left.
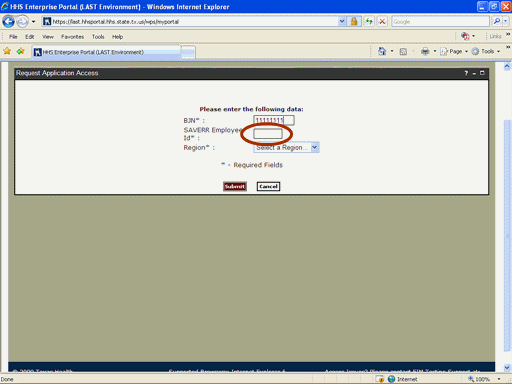
Figure 6. Request Information Page.
7. Select the SAVERR Employee ID text box then enter your SAVERR Employee ID as shown in the circle at left.
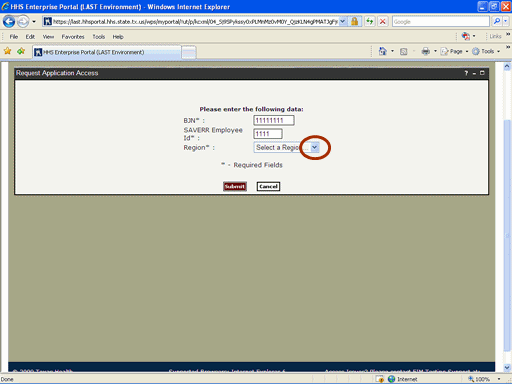
Figure 7. Request Information Page.
8. Expand the Region list box as shown in circle at left.
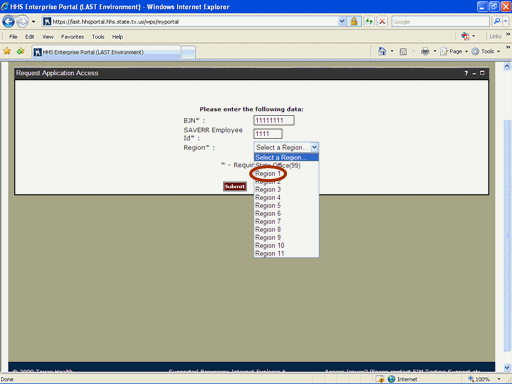
Figure 8. Request Information Page.
9. Select the appropriate Region as shown in the circle at left.
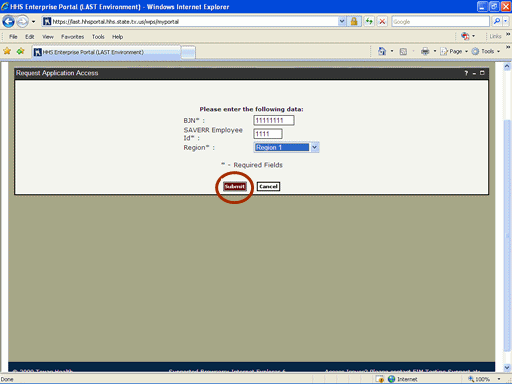
Figure 9. Request Information Page.
10. Select the Submit button as shown in the circle at left.
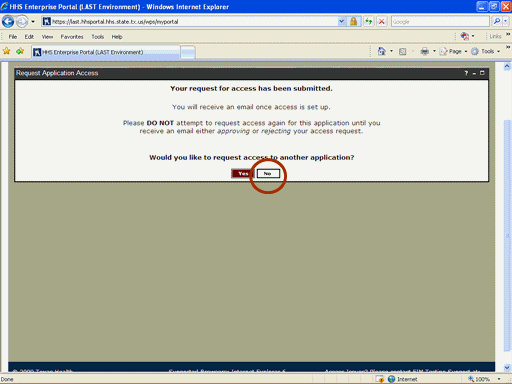
Figure 10. Request Confirmation Page.
11. If no other applications will be Requested, select the No button as shown in the circle at left.
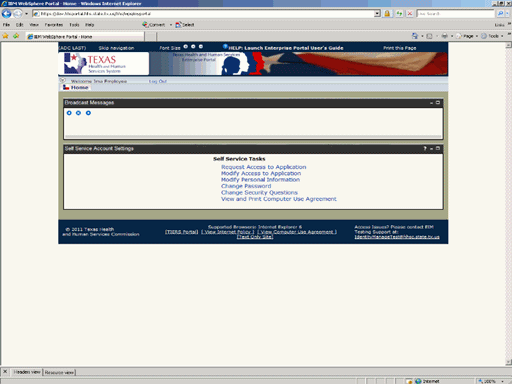
Figure 11. Enterprise Portal HomePage.
12. The Enterprise Portal Home Page re-appears indicating the process is complete. As the Request moves through the workflow you will receive automated status messages of its location. When final disposition has been made you will recieve and automated Email informing you of the disposition,